
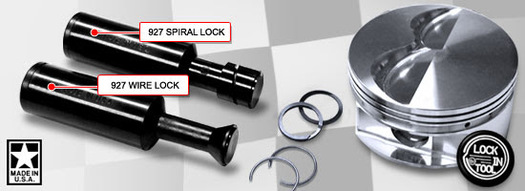
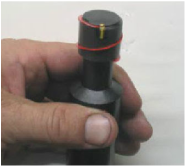
Lock-In-Tool Features:
- Hardened steel tool available for professional engine builders, lightweight plastic tool available for the do-it-yourself engine builder.
- Install spiral wrist pin locks & wire wrist pin locks easier than ever before! Locks can be installed in a matter of seconds!
- To determine which tool needed for your particular application simply measure the wrist pin being used. A small block Chevrolet with a .927 diameter wrist would use the corresponding .927 tool. It's that easy!

|

|

|
How To Use The Lock-In-Tool — Instructional Video
The Lock-In-Tool makes installing spiral pin locks and wire pin locks easy. However, getting the hang of how to use it can be difficult when referring to the paper instructions alone. This video will help teach you how to use the Lock-In-Tool the proper way for maximum efficiency.
Click the play button to start the video. The video may take a few minutes to load depending on your connection speed.
Lock-In-Tool Step By Step Instructions — [Spiral Lock Instructions] [Wire Lock Instructions]
- *NEW* The Plastic Spiral Lock-In-Tool Now Includes a Sanding/Deburring Disc. (Instructions Below)
Plastic Spiral Lock-In-Tool Sanding/Deburring Instructions
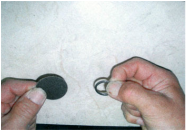
Step 1
Sand each end of the spiral lock to assist the lock in spinning off the tool much easier. Slide the sanding disk under the end of the lock as shown. |
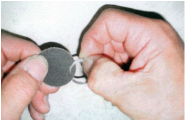
Step 2
Use a back-and-forth motion to file the burred edge of the lock. Be sure to debur both ends. This step will ensure the durability of the Plastic Lock-In-Tool. |
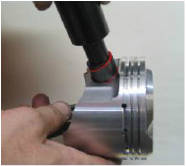
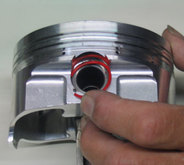
Spiral Lock Instructions:
Important Notes:
Important Notes:
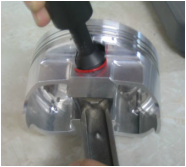
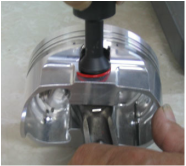
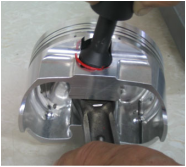
- Once The Spiral Lock Has Been Started Into The Lock Groove, Turn The Tool COUNTER CLOCKWISE Only! Otherwise, It Will Not Work!
|

|
|
|
|
|
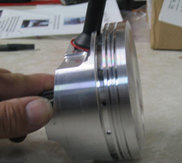
Wire Lock Installation Instructions:
Important Notes:
Important Notes:
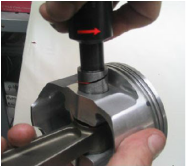
- You Can Not Push The Wire Lock Straight Into The Lock Groove!
- The Key To Installing The Wire Lock Properly Is To Work It In From One End To The Other.

|
|
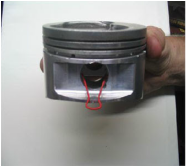
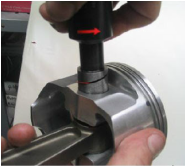
Step 3
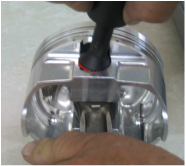
Position the Lock-In-Tool at an angle so that it is square against the wire lock. |
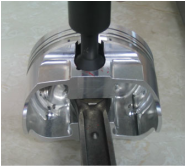
Step 4A
Press down on the end of the wire lock that is in the lock grove. |
|
|
|
|