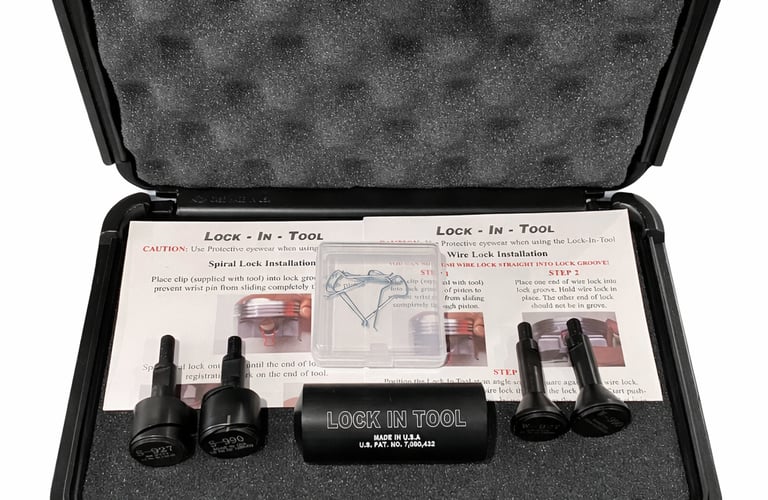
Save $$$ Purchasing A Kit

Lock-In-Tool Features:
Hardened steel tool available for professional engine builders, lightweight plastic tool available for the do-it-yourself engine builder.
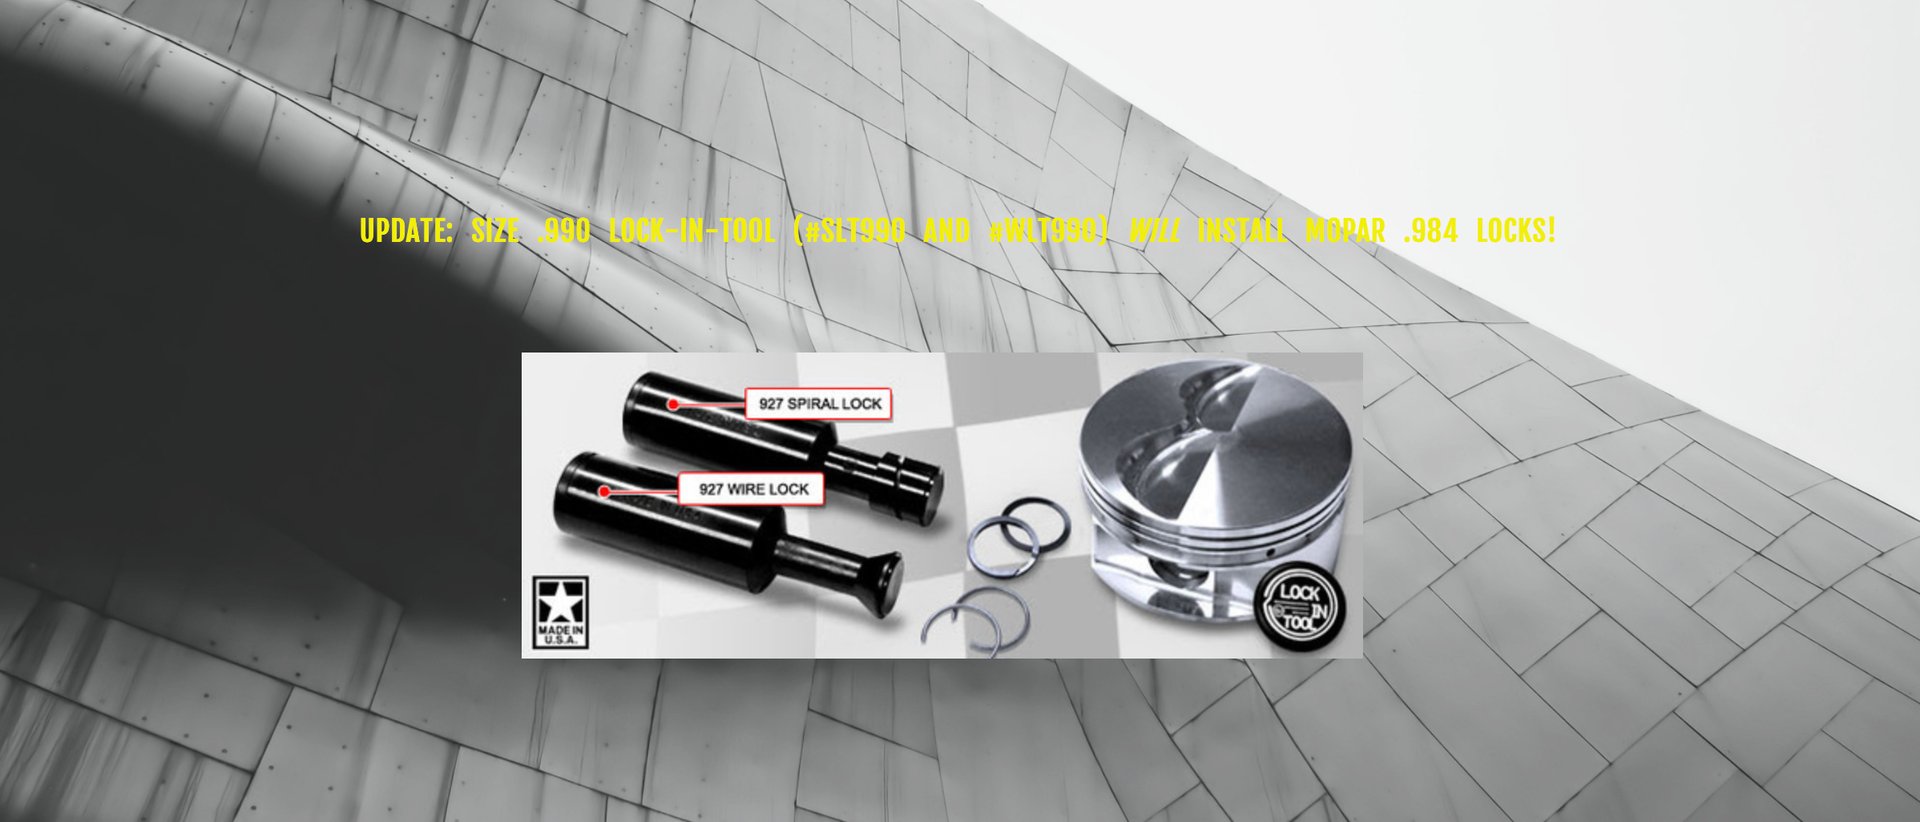
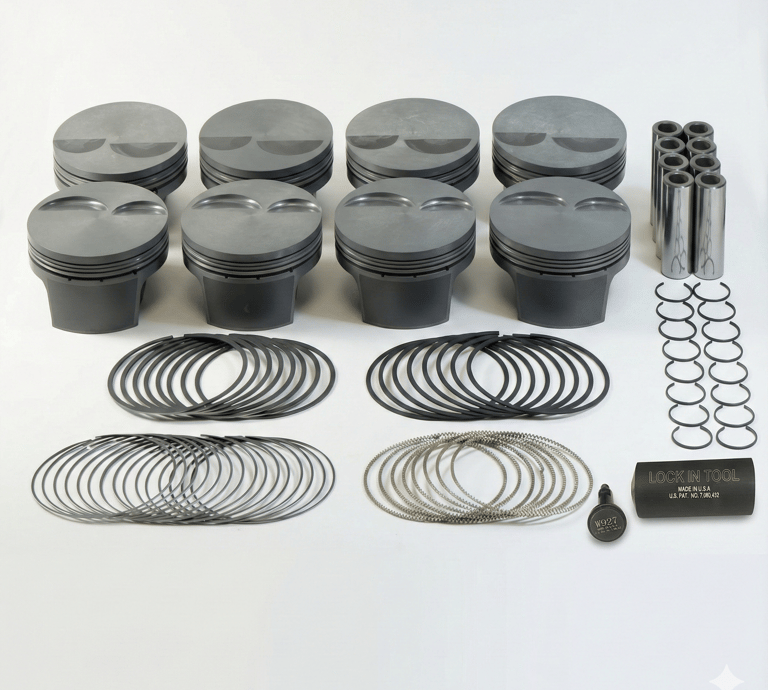
Install spiral wrist pin locks & wire wrist pin locks easier than ever before! Locks can be installed in a matter of seconds!
To determine which tool needed for your particular application simply measure the wrist pin being used. A small block Chevrolet with a .927 diameter wrist would use the corresponding .927 tool. It's that easy!
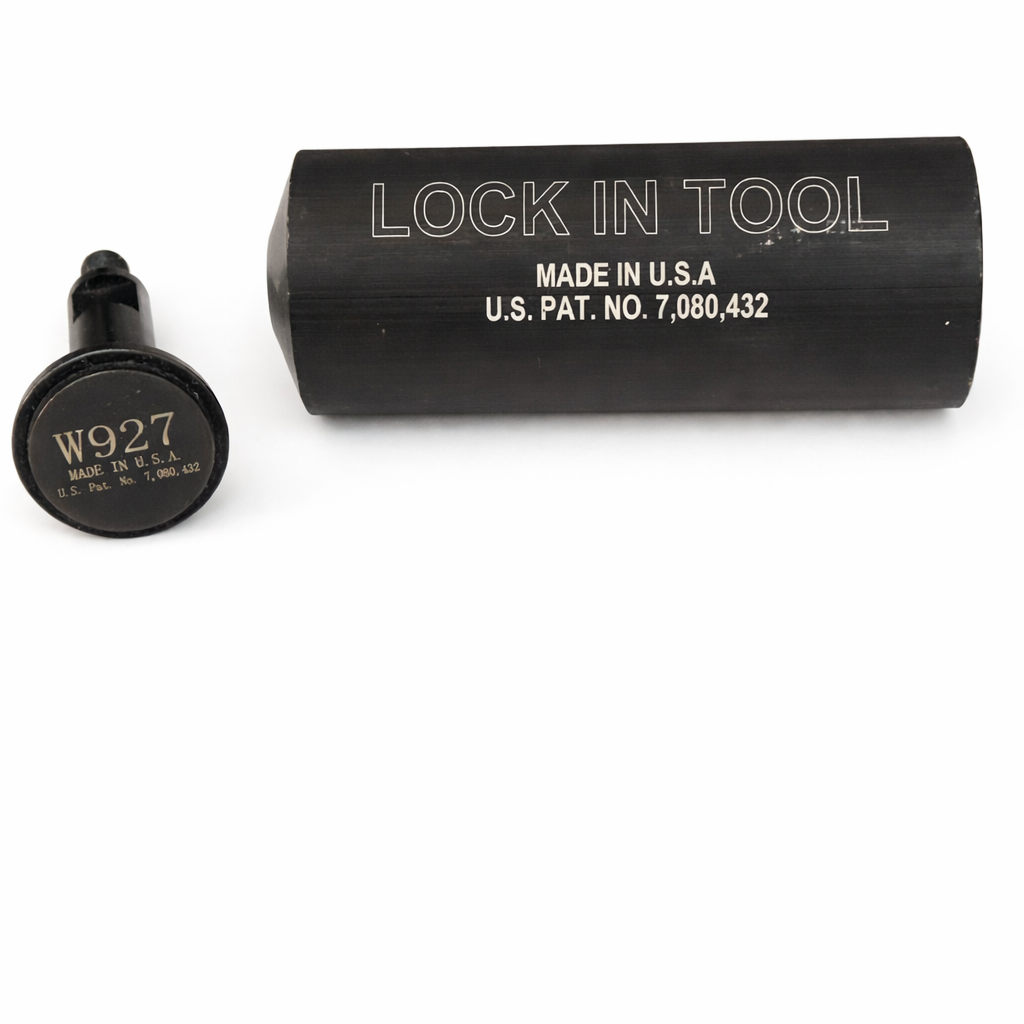
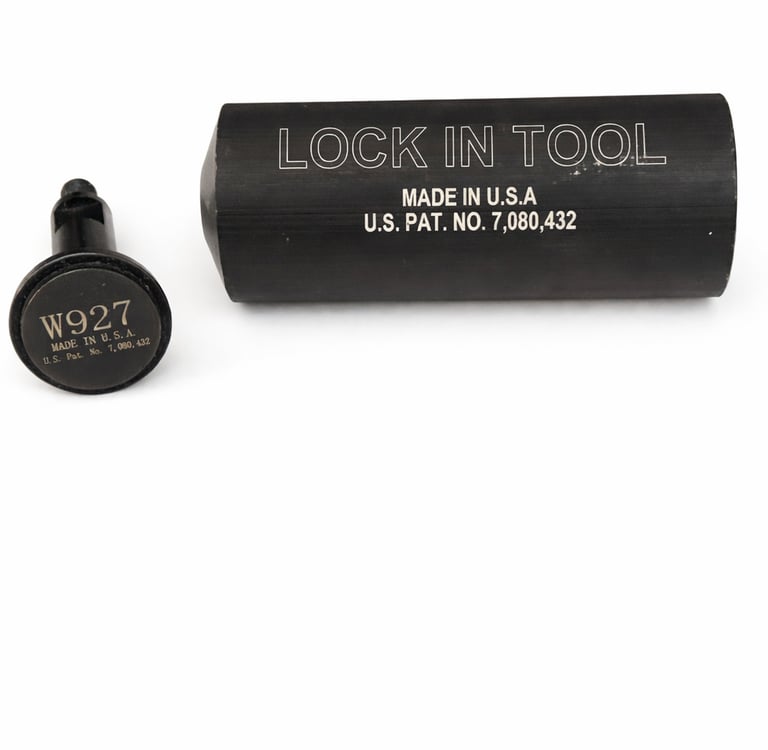
Precision tools made in the U.S.A.
Spiral Lock


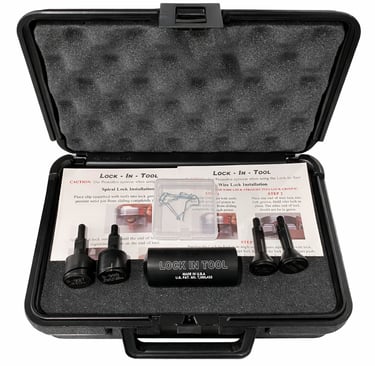
Patented Spiral Lock Installation Tool
Wire Lock
Patented Wire Lock Installation Tool
Tool Kits
Patented Spiral Lock Installation Tool
Stay Connected
Get updates on new tools and offers
Crafted with American Pride
Lock in tool offers a patented piston pin spiral lock and wire lock installation tool, proudly made in the U.S.A. for quality you can trust.
Best tool I've ever owned!
Harry Hogge
"
Lock In Tool
Premium Engine Assembly Tools
Contact
info@lockintool.com
(704) 289-0432
© 2026. All rights reserved.